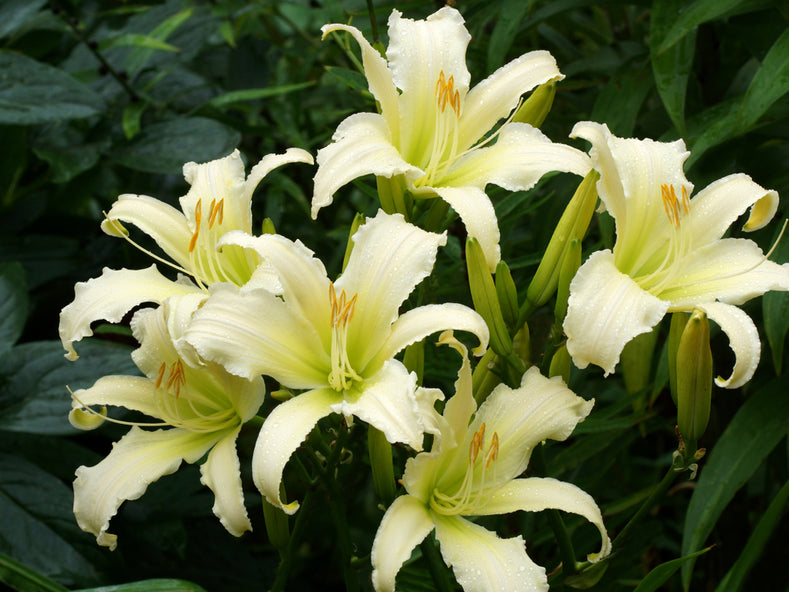
Daylilies, scientifically known as Hemerocallis, are herbaceous perennial plants that belong to the family Asphodelaceae. They are popular garden flowers known for their attractive and vibrant blooms, which last for just one day, hence the name "daylily." However, each daylily flower stalk typically produces multiple buds, resulting in a continuous display of flowers for several weeks.
Daylilies have long, strap-like leaves that form dense clumps. The foliage is usually green, but some cultivars have variegated or darker-coloured leaves. The flower stalks, or scapes, emerge from the centre of the foliage and bear multiple buds that open sequentially.
Daylilies are considered easy to grow and relatively low-maintenance. They are adaptable to a wide range of climates and soil conditions, making them suitable for various regions and garden types. Find out more about how to grow these excellent blooms!
Selecting a Planting Location: Daylilies thrive in full sun but can tolerate partial shade. Choose a location with well-draining soil to avoid waterlogged roots. The soil should be rich and loamy.
Preparing the Soil: Before planting, prepare the soil by removing any weeds or debris and incorporating organic matter, like compost or well-rotted manure, to improve soil fertility and structure.
Soaking the Bare Roots: Upon receiving the bare roots, soak them in water for about an hour before planting. This helps to rehydrate the roots and prepare them for planting.
Planting the Bare Roots: Follow these steps to plant the bare roots properly:
- Dig a hole: Make a hole in the prepared soil that is large enough to comfortably accommodate the roots without crowding.
- Position the roots: Place the bare roots in the hole, spreading them out evenly.
- Proper depth: Ensure that the crown (where the roots meet the stem) is positioned just below the soil surface. Do not bury the crown too deep, as this can lead to rotting.
- Fill the hole: Backfill the hole with soil and gently press it down to remove air pockets around the roots.
Watering: After planting, water the daylilies thoroughly to settle the soil around the roots. Ensure the soil remains consistently moist during the establishment period. Water deeply but less frequently to encourage strong root growth.
Mulching: Apply a layer of organic mulch, such as shredded bark or straw, around the newly planted daylilies. Mulch helps retain soil moisture, suppress weeds, and regulate soil temperature.
Maintenance: Daylilies are relatively low-maintenance, but there are a few essential tasks to keep them healthy and thriving:
Watering: During dry spells, water the daylilies regularly, providing about 1 inch of water per week.
Fertilising: Feed the plants with a balanced, slow-release fertiliser in early spring when new growth appears. Avoid over-fertilisation, as it can lead to excessive foliage growth and fewer blooms.
Deadheading: After each flower has finished blooming, remove the spent flower stalks to encourage continuous blooming and prevent seed production.
Dividing: Daylilies tend to multiply and form dense clumps over time. Divide the plants every 3 to 4 years in early spring or after flowering to maintain their vigour.
Pests and Diseases: Daylilies are relatively resistant to pests and diseases. However, keep an eye out for common issues such as aphids, thrips, slugs, and snails. Regularly inspect the plants and address any problems promptly.
By following these steps and providing adequate care, you'll be able to enjoy a vibrant display of daylilies in your garden, adding beauty and colour throughout the growing season.

